To submit new data to the FEGA Portugal, please make sure to follow the steps below. More technical details are available on the overview page.
Pre-submission
Prior to submitting, you will need to contact your institution’s Data Protection Officer (DPO) to ensure you have your ethical committee approval documents ready for submission. We require completing the Data Processing Agreement (DPA) with the FEGA Portugal node.
Step 1 – Register
- Register in the Central EGA Website, preferably using an institutional email.
- Wait for the Central EGA to validate your account.
Step 2 – Data Submission
Prerequisites
You must be able to use a shell terminal. The instructions are directioned towards Linux environments, but other environments can do the same using similar tools.
Install sda-cli
- Download sda-cli, the tool used to upload data into FEGA. There are different releases available here. If you are using a terminal, you can run the following command to download the Linux version:
wget https://github.com/NBISweden/sda-cli/releases/download/v0.3.0/sda-cli_.0.3.0_Linux_x86_64.tar.gz - Extract the tool (substitute the filename, if needed):
tar -xzvf sda-cli_.0.3.0_Linux_x86_64.tar.gz - When doing submissions, you will need to call the sda-cli file from the terminal (e.g., using
./sda-cli). - (Optional) Add sda-cli to system-wide binaries (you need root access!):
sudo cp sda-cli /usr/binGetting the server’s public key
- Download the Portuguese LEGA’s public key from https://inbox.ega.biodata.pt/c4gh.pub.pem . You can download it using a web browser or using
wget https://inbox.ega.biodata.pt/c4gh.pub.pem. The downloaded file should look like this:-----BEGIN CRYPT4GH PUBLIC KEY----- B2gV8b0FoVLDz0x156JBpLXdB069w4UTtWYeQf9Yzz4= -----END CRYPT4GH PUBLIC KEY-----Configuration file
- Create a file named s3cmd.conf using the following template and replace the values of access_key and secret_key with your EGA username:
[default] encoding = UTF-8 guess_mime_type = True use_https = True host_base = https://inbox.ega.biodata.pt host_bucket = https://inbox.ega.biodata.pt human_readable_sizes = True multipart_chunk_size_mb = 50 socket_timeout = 30 access_key = <EGA USERNAME> secret_key = <EGA USERNAME> access_token = <ACCESS TOKEN> # get this value at https://login.ega.biodata.pt after logging in - Note: If your username contains an “@” (e.g., janedoe@example.org), you must replace it by an underscore (“_”) both in the “access_key” and “secret_key” fields. Not doing so will make the upload fail due to failed authentication.
- You can leave the access token as is for now, you will get it once you login. The access token is valid for 7 days, so you will need to replace it every now and then.
Uploading a file
Configuring credentials
- Go to https://login.ega.biodata.pt and login using EGA. If you don’t have EGA credentials, visit this URL.
- Copy the access token (the long text starting with “eyJ”) and put it in the s3cmd.conf file. Note: Try using triple-click on the text to select the whole token.
- You may also click on “Download credentials to upload to the inbox” to get a ready-made configuration file when logging in, but please delete the lines setting check_ssl_hostname and check_ssl_certificate to False.
Uploading
- After installing sda-cli, having the server’s public key, and configuring a s3cmd.conf file, you are ready to upload a file. Use the following command and check the result:
./sda-cli -config s3cmd.conf upload -encrypt-with-key c4gh.pub.pem <FILE TO UPLOAD> - If an error is returned, check if the all the paths you are using are right and that the access token is still valid.
- To check if the upload was successful, run the following command to see what files are in your inbox:
./sda-cli -config s3cmd.conf list - If the file you uploaded appears in the list, the file was successfully uploaded to the inbox!
Step 3 – Metadata Submission
If the ingestion of the file succeeds, the user will be able to submit the metadata of the dataset.
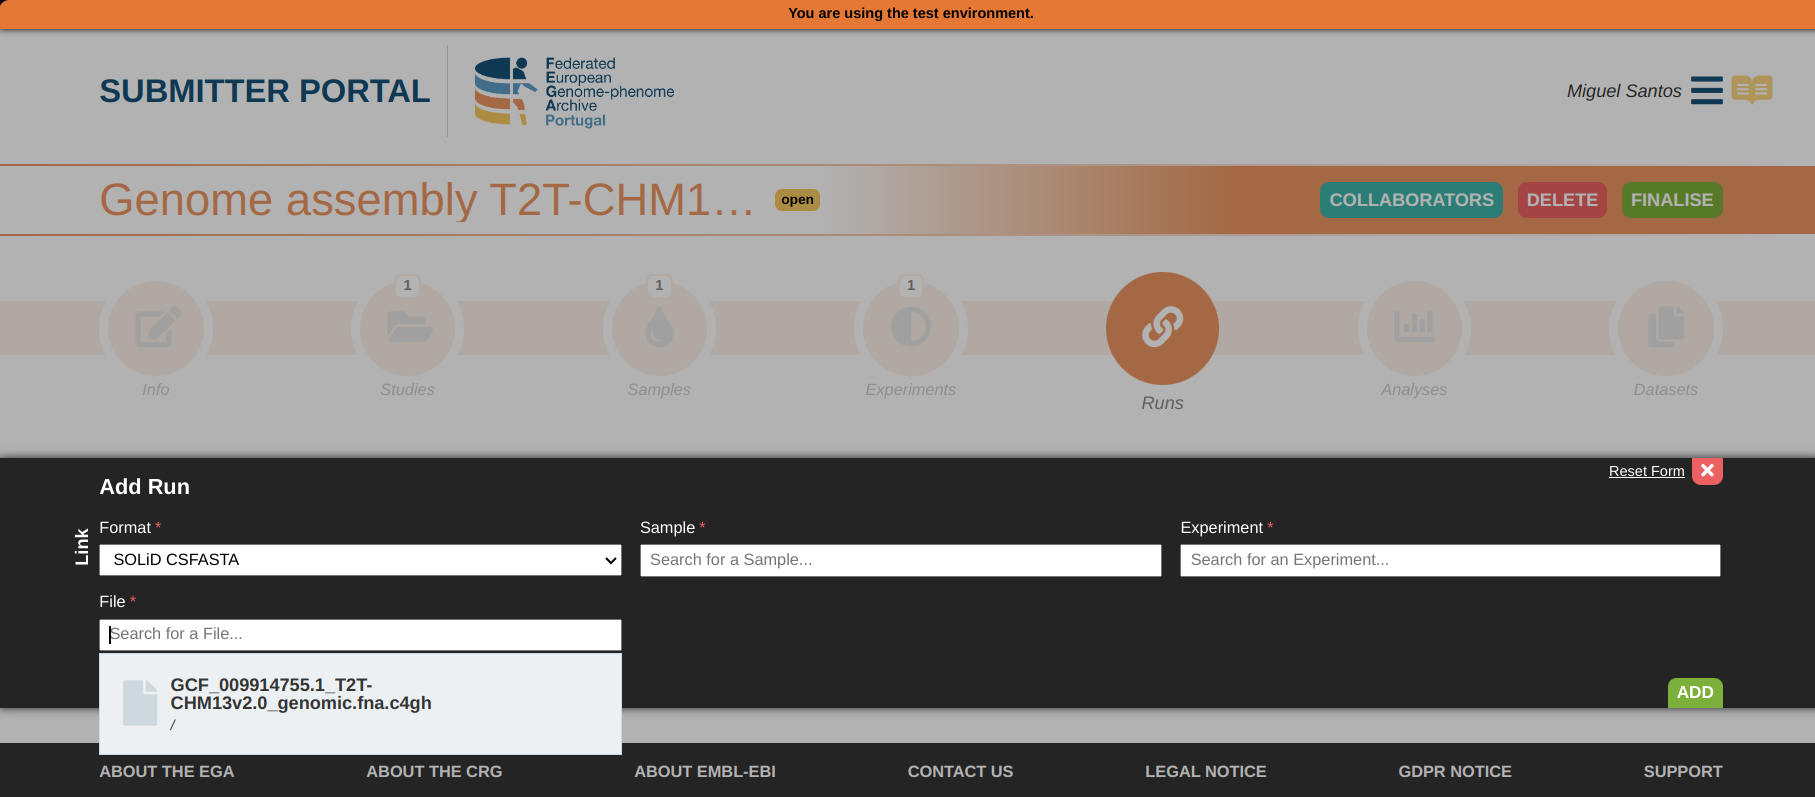
- Access the website and fill the metadata for the ingested files in the “Runs” or “Analyses” section, depending on the type of file you are uploading. You will need to fill other sections as well, depending on what you are submitting.
- If the uploaded files do not appear in the submission portal, the ingestion might have failed, please contact the Helpdesk. Common errors are due to the upload of unencrypted files or encrypting using the wrong Local EGA public key, check if
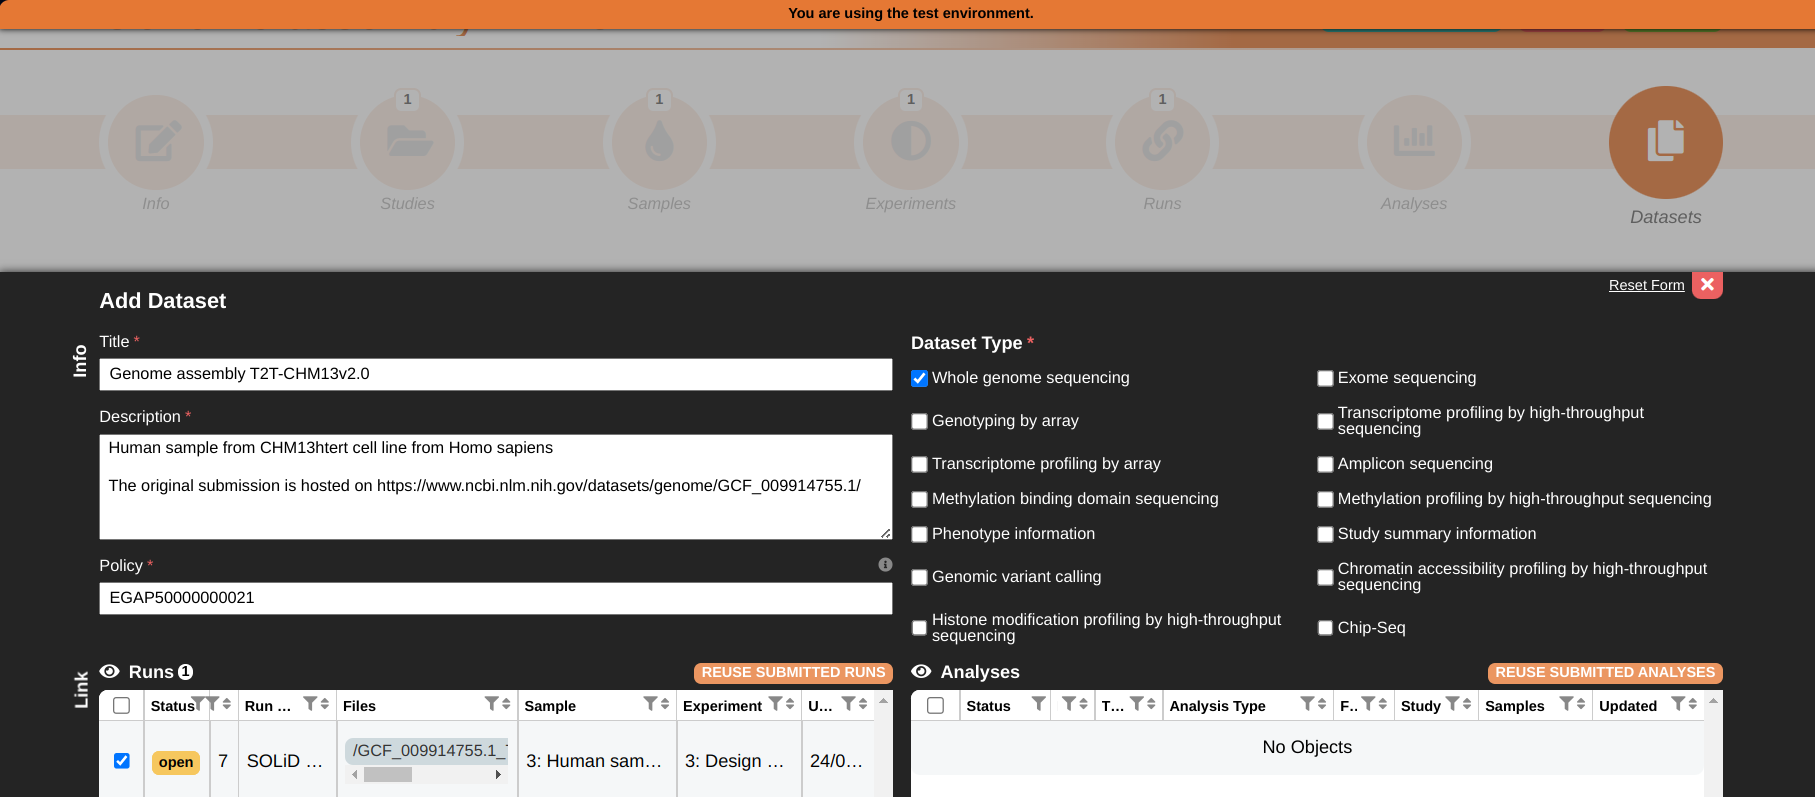
c4gh.pub.pemexists, contains “BEGIN CRYPT4GH PUBLIC KEY” and “END CRYPT4GH PUBLIC KEY” and that you used it during the upload when runningsda-cli upload. - When you are done filling the metadata for runs and analyses, go to the dataset section and group them into datasets. Each dataset will then need to be linked to a policy, which is managed by a Data Access Committe (DAC), please be sure to contact your DPO or any other person responsible for the submitted data if in doubt how to fill this field.
- If the no error is shown, finalize the submission and select a date for release. The Helpdesk will then validate your submission and contact you in case anything is wrong.
After the submission is accepted by the Helpdesk and the dataset is released, the file is imported to the vault and the dataset is findable on the EGA website for accessors to request it.
Example: